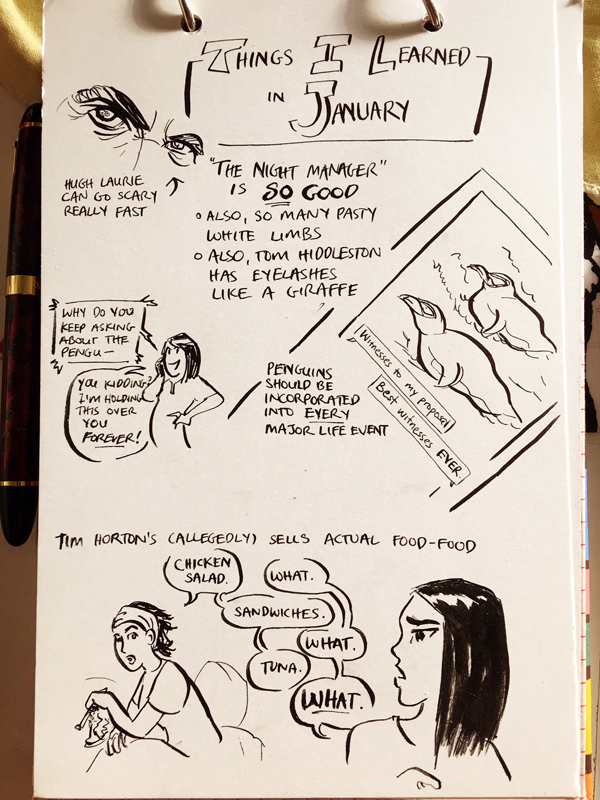
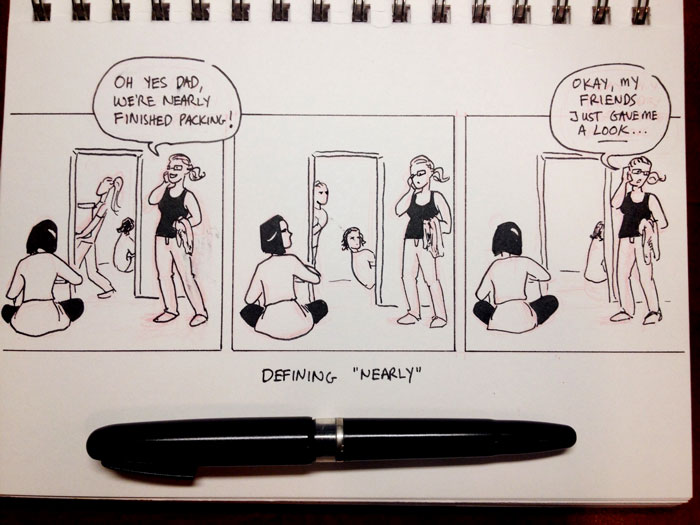
Things I learned in January
Filed: comics, drawin's, snippets, things I learned

After almost nine years of being in this country, I am now a Canadian citizen! You have only yourself to blame, Canada. P.S. I wore red specially for you. You may take a moment to don some shades.
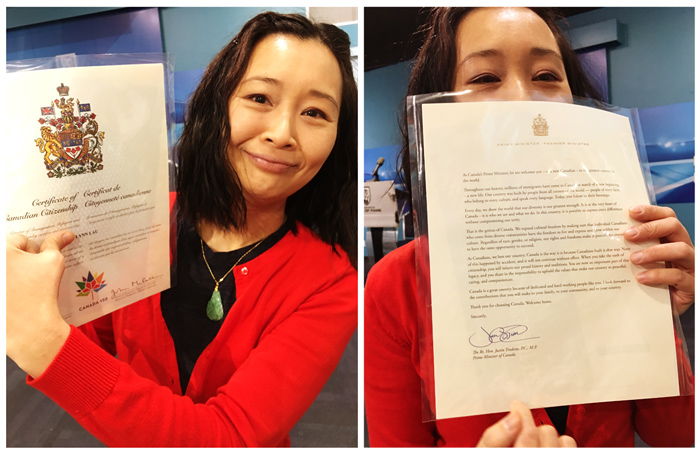
I am legit now. Plus there’s a letter from PM Trudeau welcoming me to the fold. I repeat: only yourselves to blame.
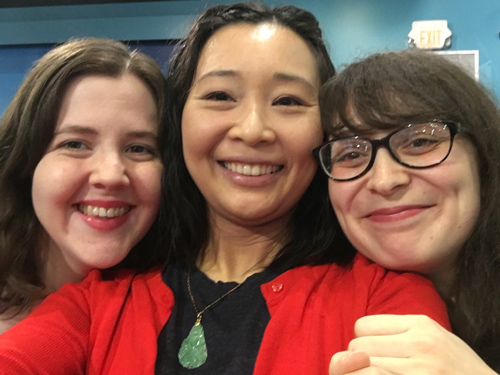
Here are Ari and Corene right before they gave me a Hudson’s Bay CANADA hat and a Tim Horton’s travel mug. The true “Welcome to Canada” package.
(Also, this is how unused I am to selfies — Ari had to clue me in to the fact that I could take the picture myself instead of finding someone to do it.)
But you know the real fun part? After the ceremony was over and done with, and after we had partaken in tea and cakes, we got to explore the BC Sports Hall of Fame. Worth the price of admission-by-which-I-mean-citizenship, chilluns.
 “I’d like to thank the Academy. . .”
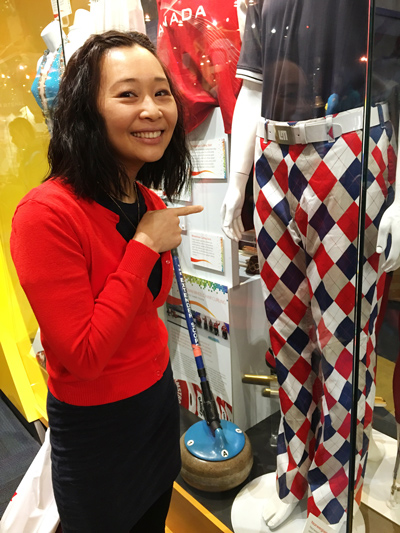 The beloved Norwegian curling pants
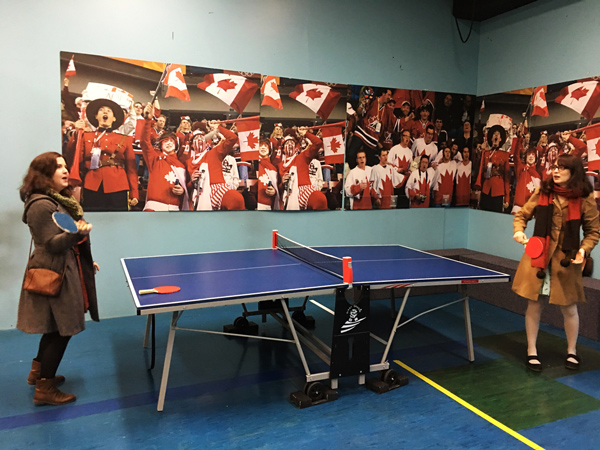
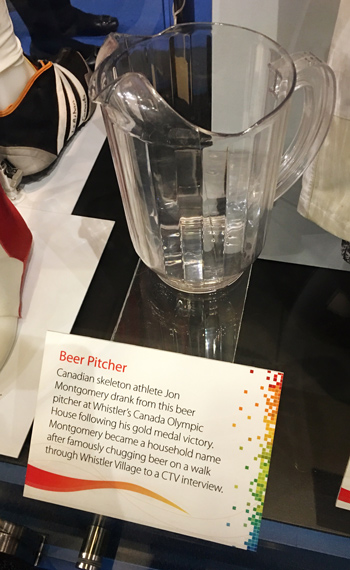 Commemorating the events that truly define Canada
And then to battle stations. Game, set, match!
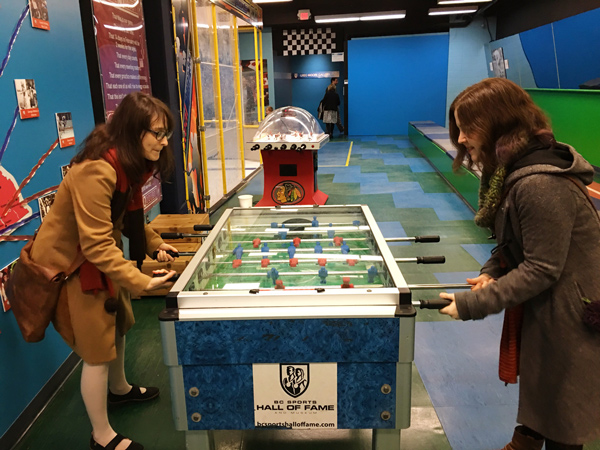 Fight fight fight!
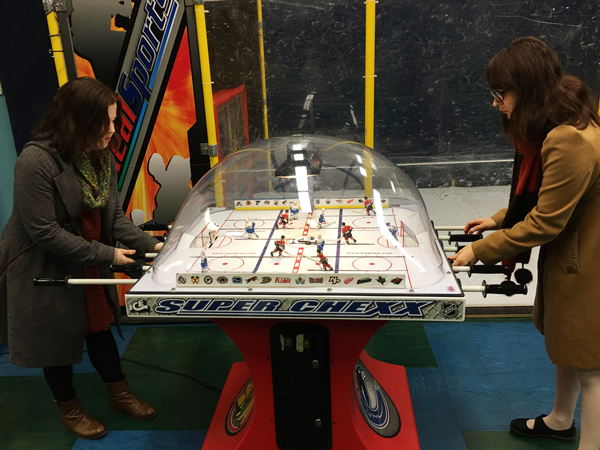 Kill kill kill!
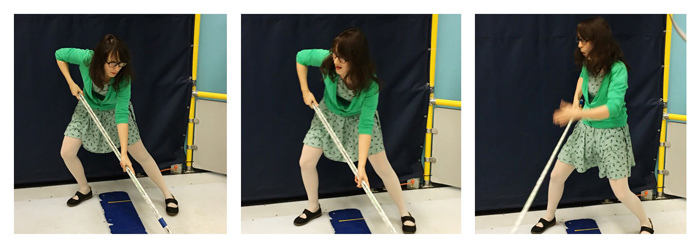
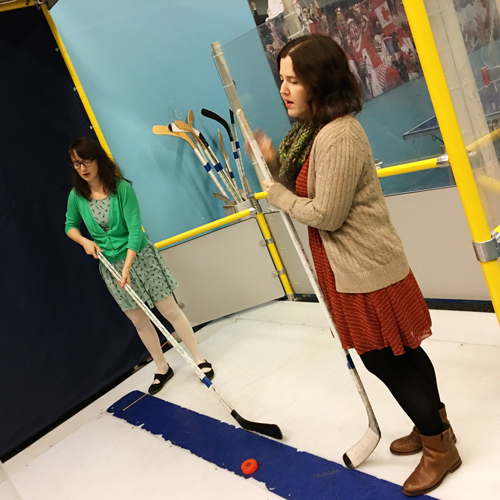
Corene and Ari also showed me how to shoot a hockey puck. Note that I said they showed me, not that I succeeded in any attempt whatsoever. You shall not have those pics. Instead, you can have these:
You also get to race along a track and whump against the end. The whump sound effect is a key aspect to this whole experience.
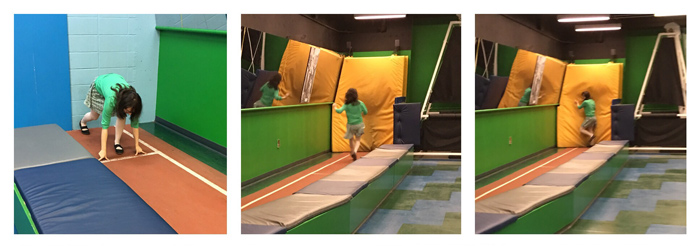 Whump
Whump
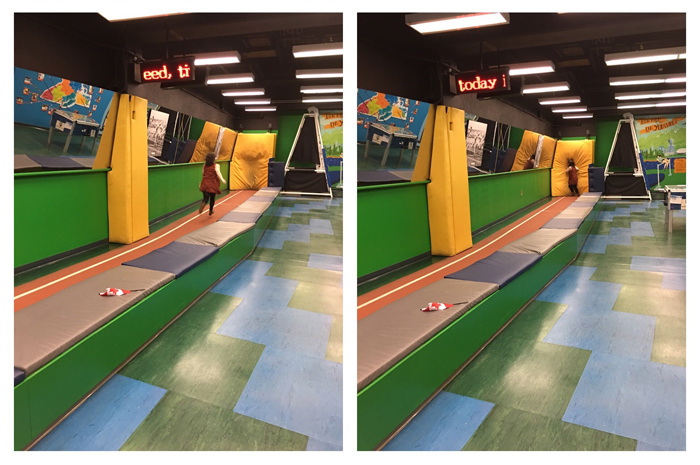 Whump
Whump
(I whumped in heels.)
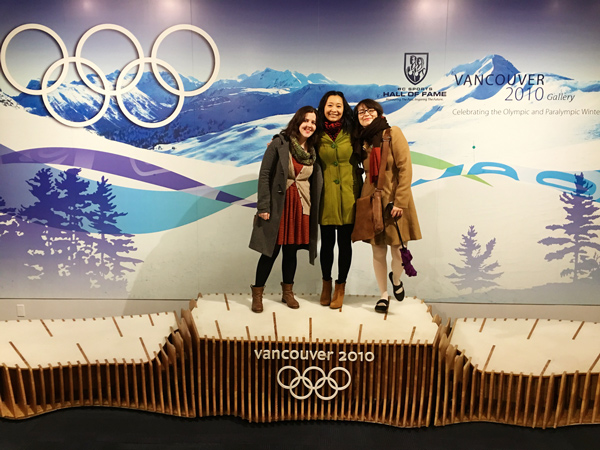
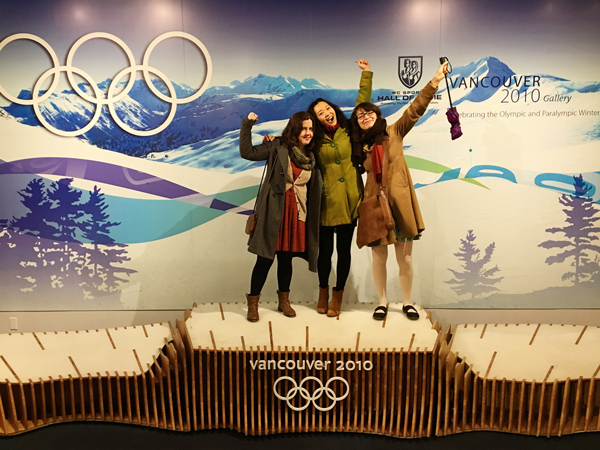
As a final hurrah, we climbed aboard the Vancouver 2010 Winter Olympics winners’ podium. Because why wouldn’t we?
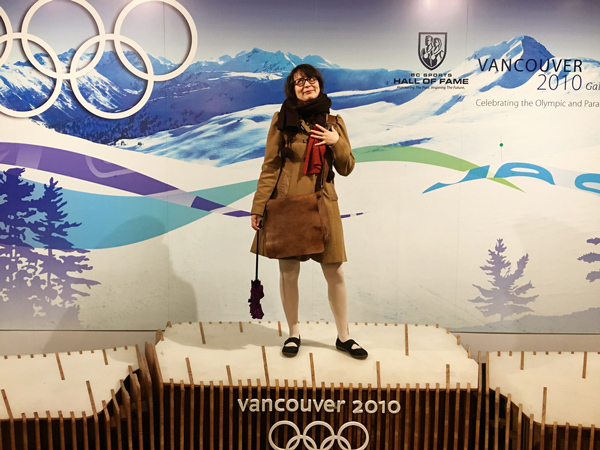 We are all winners at heart.
Some of us more than others.
 Squee
Squee
 Rawr!
Rawr!
Final notes:
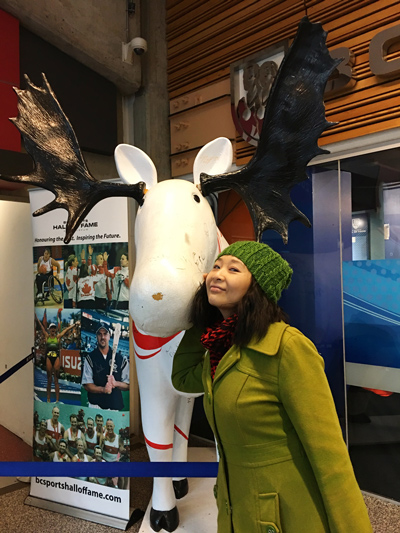
1) The closest I will get to a golden moose:
2) The swag bag they gave each of us new citizens contained a flag, commemmorative pins and programs, and, of course, homework:
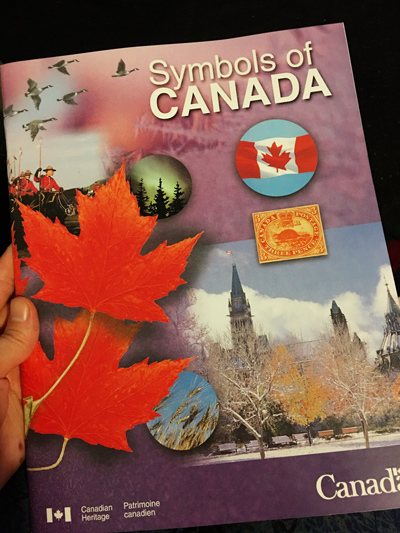
Hi there, Canada. We’re gonna get along just fine.
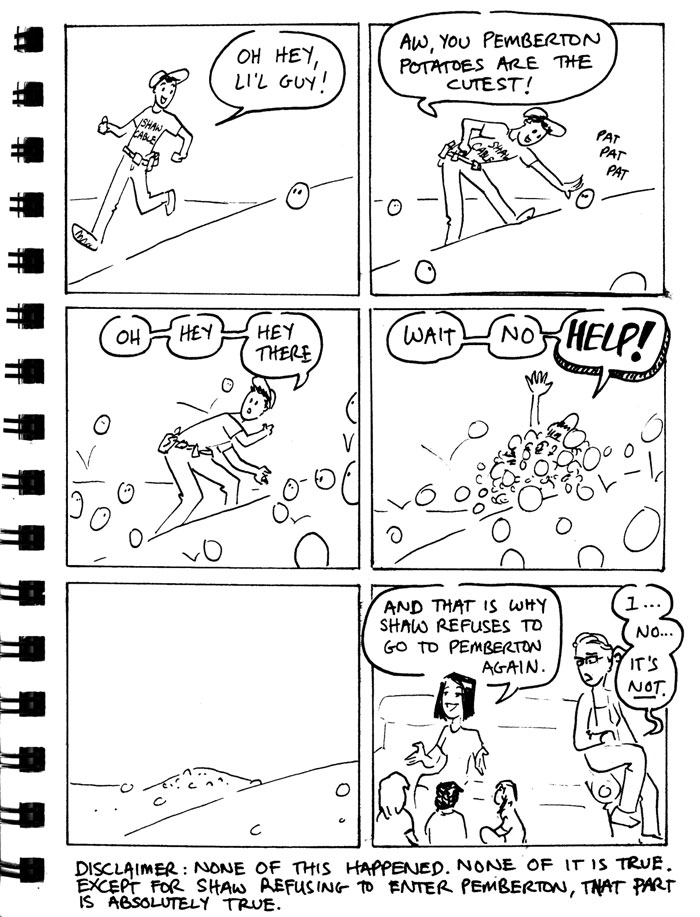
First two really happened. Third one didn’t, but let’s face it, Pemberton potatoes are (in)famous for a reason.
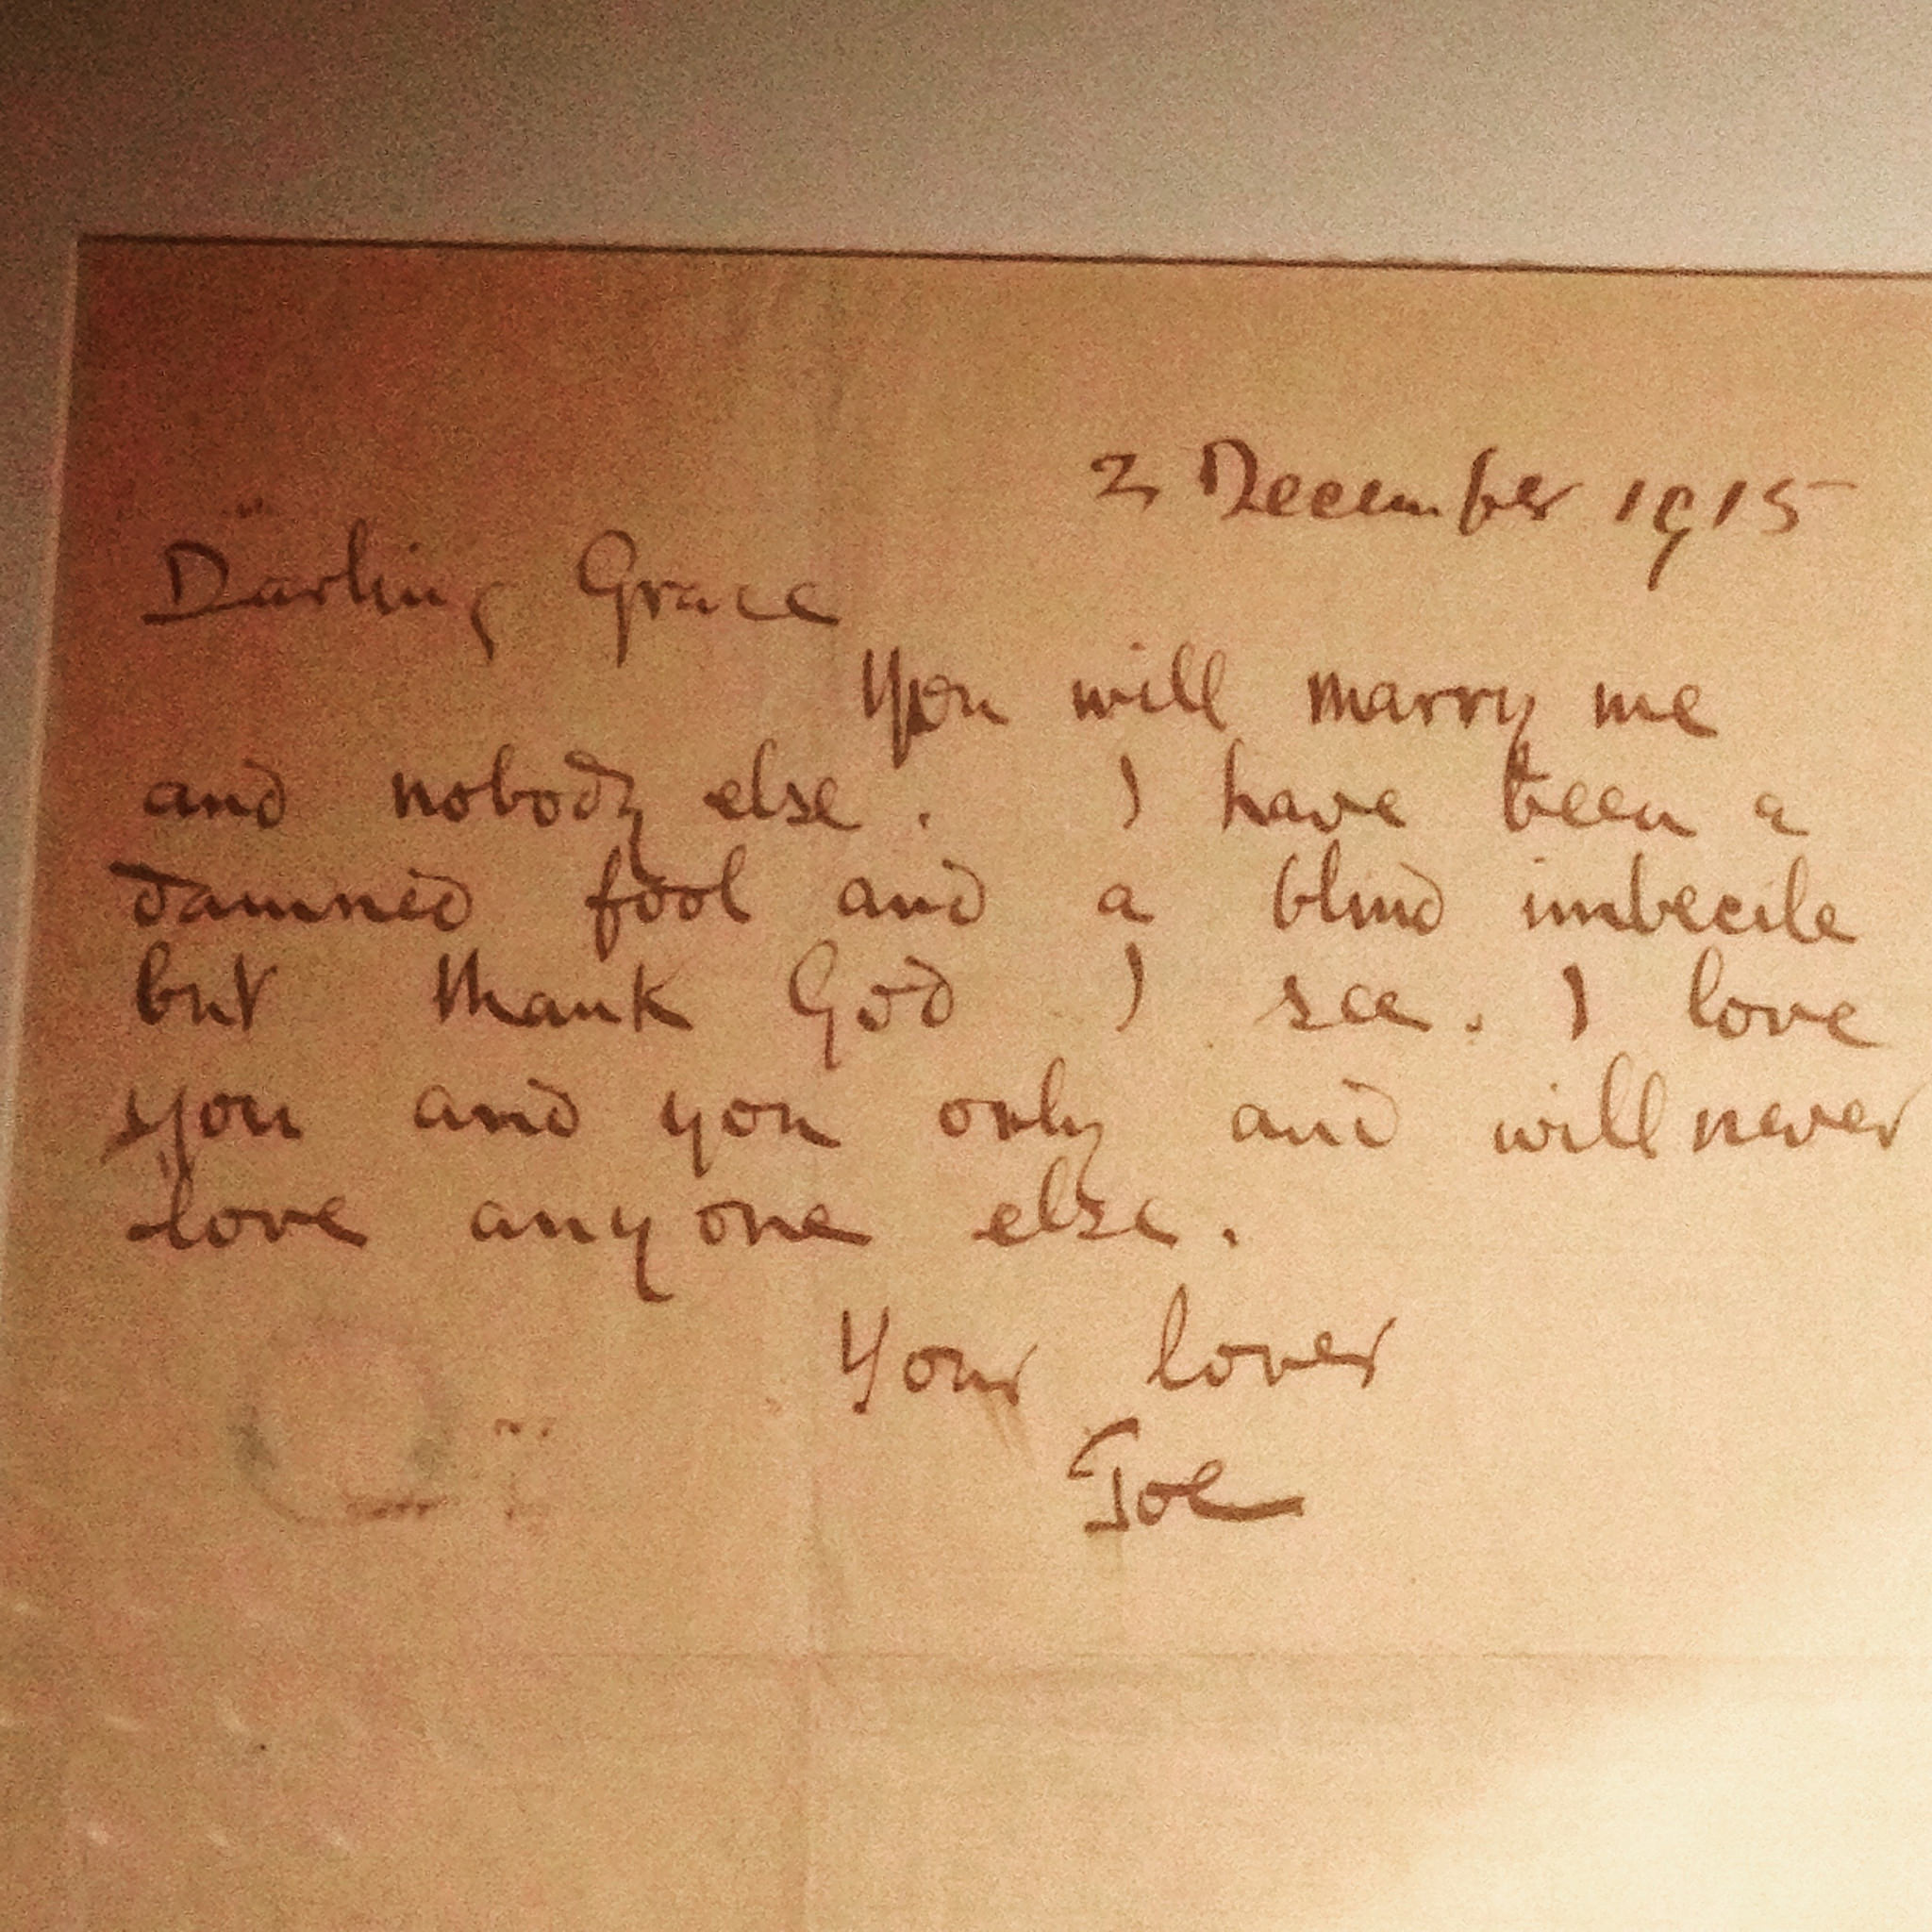
Throwback Thursday to these impassioned words from Joseph Plunkett, imprisoned at Kilmainham Gaol.
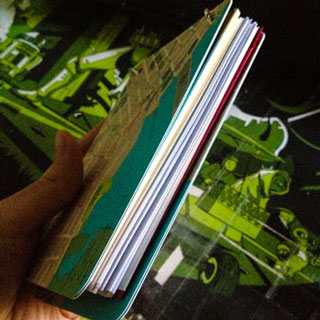
Along with the ringed notebook I also made a hardcover notebook as a gift. I’m just going to show select pics of the finished product below instead of a step-by-step process, because I think this how-to video puts it much better than I could.


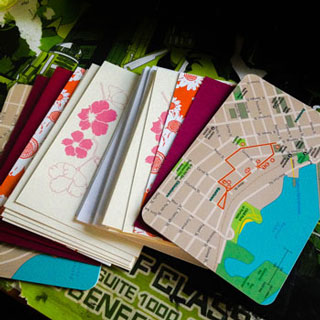
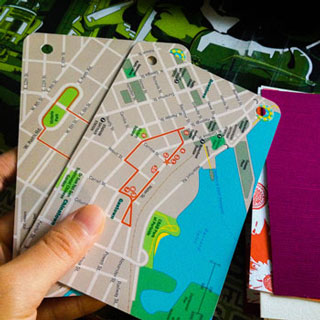
We had a Secret Santa exchange this year, with the only rule being that you had to make your gift (i.e. knit, write, draw, craft, etc). For my part, I decided on a custom-made notebook.
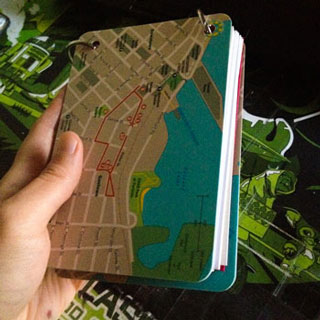
First step was to select the covers. I used these city walk cards, which are nice and thick on their own, but I decided to stick two cards back-to-back for both covers to make sure they’re extra sturdy.
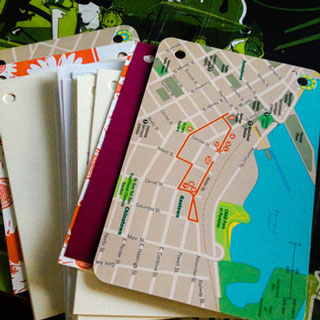
For page materials, I cut down to size some decorative cardstock I had on hand. Pretty paper isn’t going to make a very useful notebook, however, so I made sure to include some plain white paper that anybody would feel comfortable scribbling on.
Then on to the hole-punching. This can be a very therapeutic process, especially if you’re watching Masterchef: The Professionals at the same time.
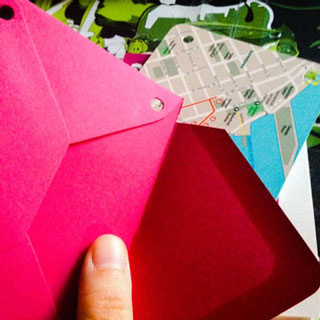
Included among the pages is this petite envelope of the same size. Handy for pocketing receipts or other scraps on hand. It too got punched, but I snipped off a wee section of the flap so that it can close easily without the rings getting in the way.
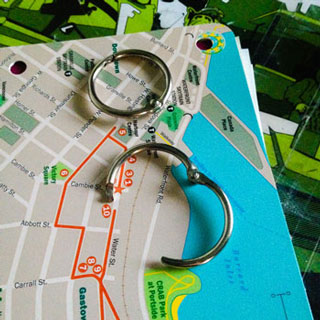
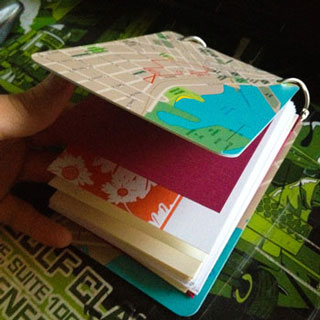
For most notebooks/sketchbooks, one-inch rings will prove more than sufficient. If, however, your book tends to grow in pages over time the way mine usually do, you can easily switch out to a larger ring size to make for easier page-turning.
On hindsight I probably should have included more white paper, just because I’m practical that way. The great thing about this kind of ringed notebook, however, is that one can easily remove, refill, and move around pages to one’s liking. One can add more envelopes, one can stick folded pages onto existing pages, etc. So you can adjust it to your preference all you want and truly make it your own.
The compact finished product: